Return to previous page
  • Overview
  • Specs
  • Application
  • Videos

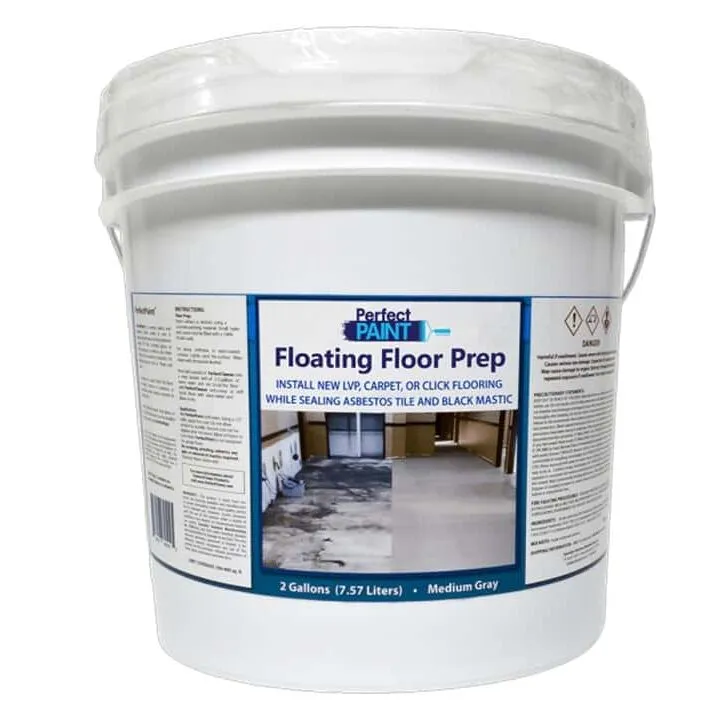
PerfectPaint Floating Floor Prep | Seal-Prime-Paint One Step | Asbestos Tile, Mastic, Glue, Cement | VCT, Ceramic Tile, Vinyl, Linoleum, Wood

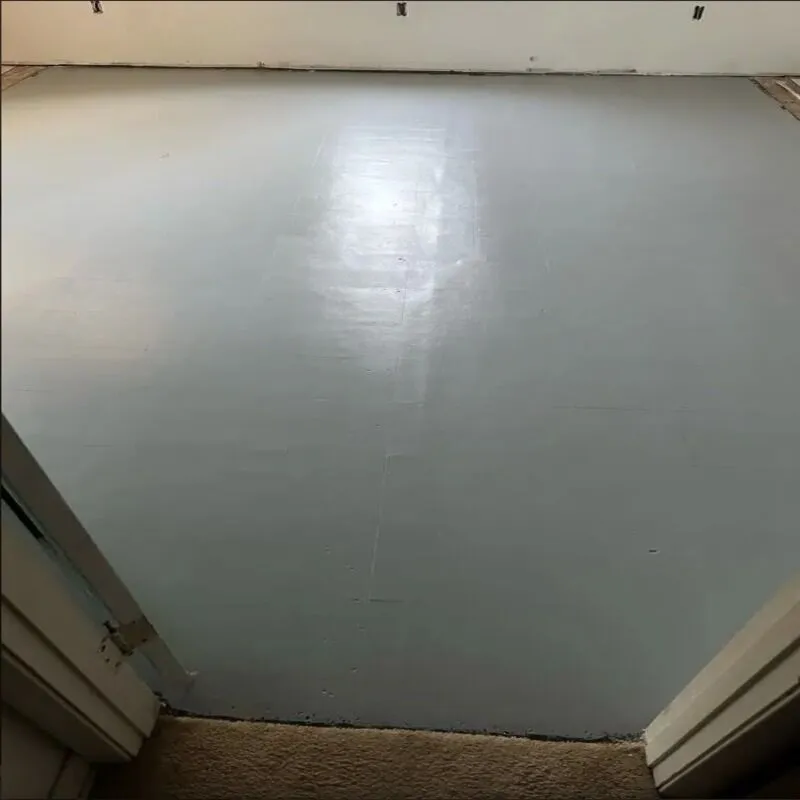
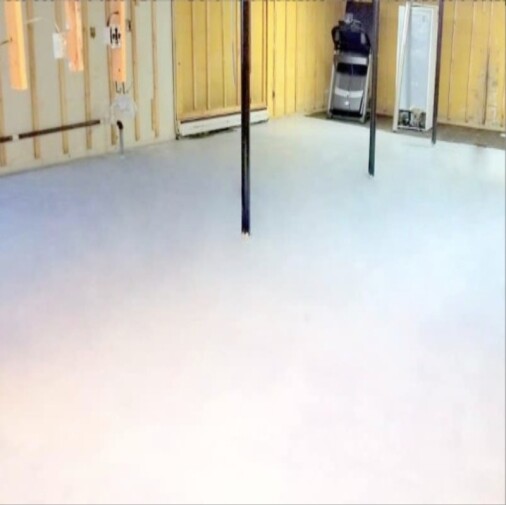
PerfectPaint Floating Floor Prep is the complete solution that will SEAL – PRIME – PAINT in one step, designed specially for sealing asbestos mastic, VCT tile, cutback glues, lead paint and other difficult and dangerous coatings.  PerfectPaint Floor Prep applies directly onto existing asbestos mastic, tile, wood, concrete, or black mastic. It is meant to be a final painted durable walking surface or have resilient flooring applied on top of it including tile, vinyl, linoleum, carpet, engineered or hardwood flooring.

PerfectPaint Floating Floor Prep and PerfectPrimer are the only safe, legal, and effective methods of treating asbestos mastics within EPA guidelines, without the lengthy, expensive process of asbestos abatement.   PerfectPaint finishes the job, leaving an attractive, smooth paint finish to your floor repair and sealing project.  No need for any additional paint or coating.

PerfectPaint is the only paint specified to meet the EPA guidelines to cover, prime, seal, and paint over asbestos mastics without disturbing them.

Once cured, you can install floating wood floor, plank flooring, or sheet vinyl flooring. or use as a stand-alone floor paint.

PerfectPaint eliminates the need for removal of glue and mastics by grinding or sanding, or expensive, messy, and dangerous treatments such as soy gels, mastic removers, and glue strippers. PerfectPaint is a latex bridging encapsulant as defined by the EPA guidelines for encapsulating asbestos-containing materials.

EPA rules do NOT require you to remove black cutback mastic or asbestos materials from your floors. They only say that you cannot disturb these materials by chemical or physical means such as grinding, or dissolving with soy gels. The rules do state that if you choose to remove it or encapsulate it, then it must be done in accordance with strict guidelines.

PerfectPaint cuts prep time, seals in slab laitance and asbestos, reduces demolition hazards and mess, insures consistent coatings adhesion, and as an elastomeric coating fills small hairline cracks.  Floor Prep enables you to consider projects that were otherwise too costly, impractical or impossible.

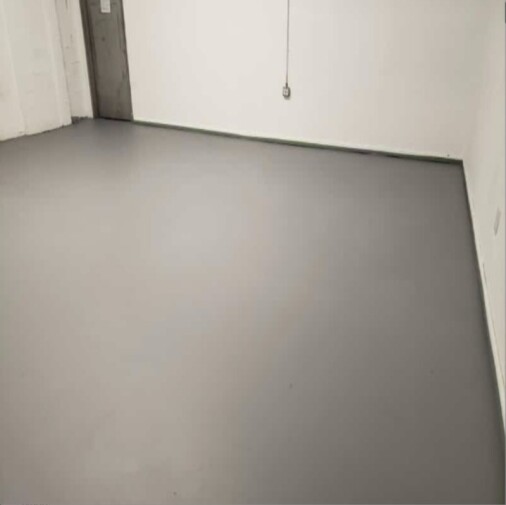
Available in medium gray color and can be tinted with colorant by your local paint store to a darker gray color using colorant meant for water based acrylic latex paints.  Comes in 2 gallon pails and can be applied using brush, roller or sprayer.

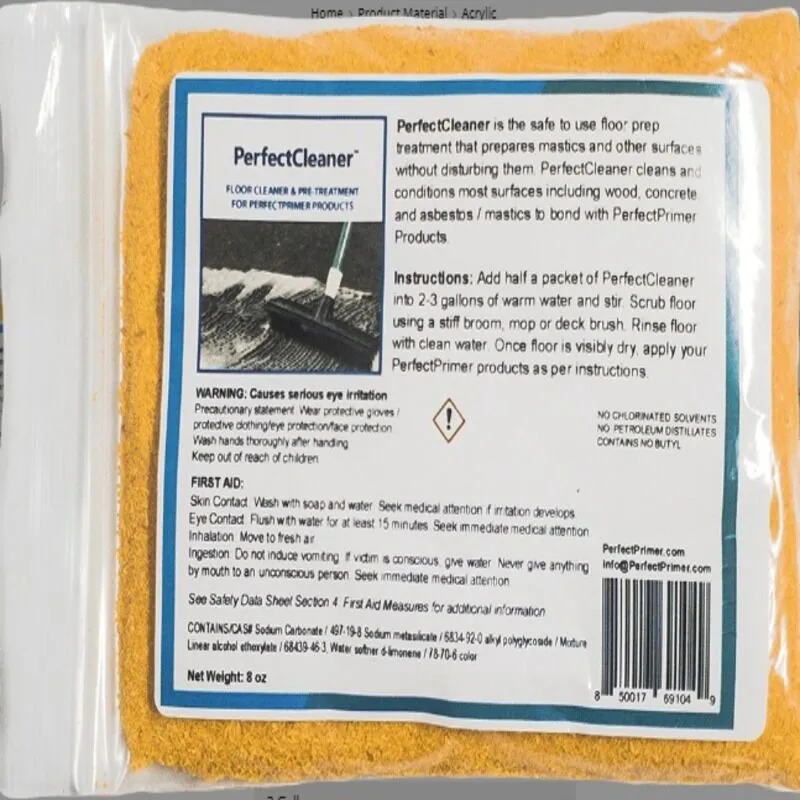
Free with each purchase of PerfectPaint is the PerfectCleaner (concentrate powder) which cleans most surfaces including wood, concrete, and asbestos mastics, and conditions allowing them to bond with PerfectPaint (US Only).

Please note PerfectPaint is designed for light foot traffic only and not for projects subject to vehicles or wheeled traffic.

Application temperatures: 45F-100F ambient air.  Do not apply when temperatures will drop below freezing, or when precipitation is forecast.

For projects first requiring patching repairs of holes, seams, cracks etc please see our PerfectPatch product that works well prior to use of PerfectPaint and PerfectPrimer.

PRIMER: None required.

TOPCOATNot compatible with topcoats as PerfectPaint Floating Floor Prep is both a primer and a final topcoat as well as designed for use underneath floating floor systems and not meant to be topcoated.  For flooring requiring thin-set, adhesives or glue, use PerfectPrimer

Where is PerfectPaint Floating Floor Prep Used?

  • On Coatings left behind after asbestos abatement projects
  • Over Tile (including VCT, asbestos, ceramic, vinyl, linoleum)
  • Black Mastics and Carpet Glue
  • Sheetrock
  • Metal
  • Sheet vinyl
  • Asbestos tiles
  • Popcorn ceilings with asbestos fibers
  • Wood
  • Most indoor and outdoor construction materials

Why PerfectPaint?

  • SEAL – PRIME – PAINT all in one step wide range of dangerous and difficult flooring materials: asbestos, lead, mastics, glue, cements without need for expensive removal
  • Great bonding to smooth, non-porous surfaces found in commercial offices and homes including VCT, ceramic tile, vinyl, linoleum
  • Safely encapsulate, rather than grind asbestos and lead prior to application of vinyl, tile, wood or other resilient flooring
  • Reduce surface prep, expense and project completion time
  • No need for scraping, grinding, solvents, soy gels, or removal of mastics
  • Molecular adhesion ensures a strong bond to difficult non-porous surface
  • Leaves a nice smooth paint finish to your project
  • Water based Non-Toxic, no harmful VOCs
  • Cleans up with water
SPECIFICATIONS
Solids By Weight 67%   By Volume 55%
VOC 0g/L
Colors light gray
Application guide Spray or roll
Coverage per Gallon 200-225 sq’/gal total of 2 coats (400-450 sq’/gallon each coat)
Packaging  2 gallon, 4 gallon
Base 100% acrylic copolymer (NanoTek technology used is proprietary, non-regulated and classified)
Shelf Life 1 year in unopened container
Codes/Approvals Energy Star, ICC, UL, CRRC, (ASTM D6083)
SPBC-F07 meets guidelines for California Title 24 and proposition 65
Fire Rating Class A, ASTM E-108. Class 1 U.L.790
Flexibility Passes 0.5” mandrel @ –150 F ASTM D522
Permeance 14 U.S. Perms @ 10 mils
Tear Resistance 90 lbs/in (ASTM D1104)
Tensile Strength 675 psi @ASTM D638
Salt Spray Resistance No noticeable effects
E-74 Grade B Exceeds nine times FM windstorm test parameters
Wind Uplift Resistance 8200 psf (lbs per square foot) uplift on concrete ASTM E-330
Mold resistance Excellent
Elongation @70F 410% (unreinforced)
Viscosity 110 k.u.
Hardness  70 Shore A  ASTM D2240

MIXING AND APPLICATION INSTRUCTIONS

PRODUCT STORAGE: Store product in an area so as to bring the material to normal room temperature before using. Continuous storage should be between 60 and 90 degree F. Keep from freezing.

SURFACE PREPARATION:

Vapor Testing:
For applications of any resinous coatings onto a slab on grade, remember that best practices industry standard is to  do slab moisture or out-gassing calcium chloride or a certified moisture reader test.  PerfectPaint Floating Floor Prep is NOT a vapor block coating or negative hydrostatic vapor barrier product.  It is designed to “breathe” and allow moisture to vent though. If you washed the floor and applied the PerfectPaint within 12-24 hours after that, then both the concrete floor and the paint contain moisture that must cure out before trapping it under a non-breathing coating. This means that even if the Floor Prep seems dry to the touch, there may still be trapped moisture underneath that you do not see.

Floor Prep is designed for Positive side waterproofing only. In cases of excessive moisture, out-gassing or negative side hydrostatic pressure over clean, bare concrete, apply our SlabTight® vapor mitigation primer first, then apply Floor Prep if needed.

Cleaning

Wash the floor with 4 oz ( half a bag) of PerfectCleaner dissolved and mixed into warm water. Apply the PerfectCleaner using a stiff broom, mop or deck brush, then rinse well.  Stir half a packet of PerfectCleaner into 3-5 gallons of warm water. Use the mixture to scrub the floor using a stiff broom, mop or deck brush. Mop floor again with clean water. Once the floor is visibly dry, apply Floor Prep.  Note: You can increase the cleaning power of PerfectCleaner by using it in a more concentrated form. Do not use concentrated solution for mastics.  PerfectCleaner cleans most surfaces including wood, concrete, and asbestos mastics, and conditions them to bond with PerfectPaint.  The Citrus based formula will not disturb mastics.

You may also use TSP or a TSP substitute, Dawn dish soap, or Simple Green All-Purpose Cleaner.  Allow porous substrates to dry for 24 hours before applying Primer.

For tile floors with wax or floor finish on them: First strip the wax using some ammonia mixed into hot water. You can also use a wax stripper available at a janitorial supply house.  You can also “dry clean” a linoleum or glazed ceramic tile floor by lightly sanding the floor with a 100 grit scrubber pad. Once done, sweep or vacuum the floor and then clean it with a sweeping pad and denatured alcohol. When the floor is visibly dry, you can apply Floor Prep.

PerfectPaint may exhibit weaker bonds with vinyl polymer coatings such as Flex-Crete. PerfectPaint has been shown in some cases to be incompatible with Some Metallic epoxy coatings. Always test primer with your coatings before applying them in the field.

When applying over epoxy, acrylic sealers or other resinous floors: Remove lifted or poorly adhered material.  Lightly sand substrate surface using a #100 Grit screen. Wipe down surface with acetone, or denatured alcohol then apply two coats of PerfectPaint.

Over hard mastics, wash with warm water and a de-greasing solution or dishwashing soap using a deck brush. Once visibly dry, apply two thin coats of PerfectPaint.

For smooth tile and linoleum: Clean with soapy water, and wax strippers if needed.  Remember that if you choose to acid wash a concrete deck, you must then neutralize the surface with baking soda as a final rinse after washing.

Exposed rusted steel must first be treated with our IronBack Rust Primer.  PVC must be first be cleaned (do NOT sand) then wiped with Isopropyl alcohol.

Substrate compatibility Test: If you would like to test your substrate for compatibility with PerfectPaint: Clean an area of about 6”x 6” with some soap and water. Towel the area dry and brush applyPerfectPaint to the test area. If the material adheres to the surface as you are applying it without “traveling” or shrinking, you can use PerfectPaint for this substrate. Once cured, it should only be able to be removed by scraping it.  Note: Once cured, it is possible and normal that Perfect Primer Sealer can be scratched off a substrate. This is NOT a problem as long as it does not “peel” off in sheets

Note;  PerfectPaint will NOT adhere to Silicone, silicone sealed surfaces or TPO

Patching Overview: Fill all cracks and gaps wider than a dime. Use construction grout or similar material to raise and level all low spots where puddles are deep enough to cover a quarter. Apply Floor Prep to repaired areas with or without our Polytex fabric as desired. We recommend using our PerfectCrack Repair Kit.

Crack repair: To repair seams and cracks, blow, scrape or wash out any loose dirt materials from cracks. No “V” routing is needed.  To repair damaged areas and low Spots Prep: Spot prime substrate in areas to be patched. Once primer is cured, fill low spots with your choice of polymer modified cement patching materials. Small cracks or holes can be filled with acrylic caulk.

PRODUCT APPLICATION:

Applying and curing of PerfectPaint:  Apply the first coat using a brush or 3/8’ roller evenly to about 2-3 DFT’s. This can be accomplished by rolling it on as thickly as you can, then back-roll so it does not puddle After 12 hours or when dry to the touch, apply the second coat.

These cure times assume an RH of 70% or lower. When humidity is higher ,wait 24 hours to apply cements and 48 hours to apply epoxies. Note: Do not apply Floor Prep below 45 degrees, F. or when freezing weather is expected within 24 hours of application completion.

Notes: You can add up to 12 oz of water into one gallon of Floor Prep to keep it from drying out on hot days, to replace the water that may be evaporating form sunlight and exposure to air. In conditions of high humidity or installing over non-porous surfaces like epoxy and tile you can apply your topcoat after a 24 hour cure by following these special guidelines: Apply one thin coat, wait 90 minutes, then apply a second thin coat. This will allow for faster, even curing and out-gassing.

PerfectPaint typical coverages for two coats:  200 sq. ft per gallon depending of porosity of substrate (each coat applied at 400 sq’/gallon).

Application: Once all prep has been completed, use a brush or 3/8” nap roller to apply first coat . After 12 hours, apply your second coat. Allow 12 hours to cure before foot traffic.   Specifications: Apply primer evenly. by rolling it on as thickly as you can, and then back-rolling so it does not puddle. Professionals: If you are spraying a large area, use piston powered paint sprayer with a .27-.32 tip.

Allow for 24 hour cure before applying concrete. When applying PerfectPaint over existing epoxy, acrylic sealers or other resinous floors: Remove loose and poorly adhered material. Lightly surface using a #100 Grit screen. Vacuum or sweep off grinding dust. Wipe down surface with acetone, or denatured alcohol, and then apply two coats of Floor Prep.

Note: Work Clean! Wear socks or booties to avoid tracking dirt onto the painted surface. Dirt and dust are bond-breakers. 32°F within a 24-hour period after application.

The color of the underlying surface may be visible in areas where the primer is too thin. These spots may require another coat of primer.

You can test the surface by rubbing a tissue on to the yellow area. If the tissue stays dry, you can safely apply your finish coating. If not, clean the areas with soap and water and apply another coat of primer in those areas.

If you have consistently high humidity levels, (above 70%) we recommend that you wait 24 hours for the Primer to cure before applying your top coatings

You can also use a dehumidifier or place fans over the work area, to facilitate curing.

An overnight (12 hours) period is sufficient cure time when you will be installing a resilient flooring.

Can recoat Floor Prep in the future only using a water based acrylic sealer or acylic latex floor paint.

CLEANUP: Use water

RESTRICTIONS:  Always use safety glasses and chemical resistant gloves when handling materials.

LIMITATIONS

  • Substrate temperature must be 5°F above dew point.
  • All new concrete must be cured for at least 30 days.
  • Physical properties are typical values and not specifications.

NOTICE TO BUYER: DISCLAIMER OF WARRANTIES AND LIMITATIONS ON OUR LIABILITY We warrant that our products are manufactured to strict quality assurance specifications and that the information supplied by us is accurate to the best of our knowledge. Such information supplied about our products is not a representation or a warranty. It is supplied on the condition that you shall make your own tests to determine the suitability of our product for your particular purpose. Any use or application other than recommended herein is the sole responsibility of the user. Listed physical properties are typical and should not be construed as specifications. NO WARRANTY IS MADE, EXPRESSED OR IMPLIED, REGARDING SUCH OTHER INFORMATION, THE DATA ON WHICH IT IS BASED, OR THE RESULTS YOU WILL OBTAIN FROM ITS USE. N0 WARRANTY IS MADE, EXPRESSED OR IMPLIED, THAT OUR PRODUCT SHALL BE MERCHANTABLE OR THAT OUR PRODUCT SHALL BE FIT FOR ANY PARTICULAR PURPOSE. NO WARRANTY IS MADE THAT THE USE OF SUCH INFORMATION OR OUR PRODUCT WILL NOT INFRINGE UPON ANY PATENT. We shall have no liability for incidental or consequential damages, direct or indirect. Our liability is limited to the net selling price of our product or the replacement of our product, at our option. Acceptance of delivery of our product means that you have accepted the terms of this warranty whether or not purchase orders or other documents state terms that vary from this warranty. No representative is authorized to make any representation or warranty or assume any other liability on our behalf with any sale of our products. Our products contain chemicals that may CAUSE SERIOUS PHYSICAL INJURY. BEFORE USING, READ THE MATERIAL SAFETY DATA SHEET AND FOLLOW ALL PRECAUTIONS TO PREVENT BODILY HARM.

How to use PerfectPrimer Floating Floor Prep (formerly PerfectPaint)

PerfectPrimer Floating Floor Prep (formerly PerfectPaint) Quick Overview

Reviews